tirsdag den 7. marts 2017

Alfa Romeo 164 S 1991 doors

Window regulator gear can wear down leaving the window stuck , you will need a new regulator in that case , testing the regulator requires acces to 12 V and preferabely two wires to test the motor is working or not , applying power directely to the connector behind the door panel. Start testing the  contacts for the regulators , center console and door.Check fuses in fuse panel.

Door panel off front left side. (drivers side) REMOWE THE SCREW THROUGH THE SIDEWINDOW AIR CHANNEL FIRST OR YOU WILL BE IN TROUBLE. Phillips 2.

Screw in went channel door                                                                                                            164.1

IF you dont you will end up with a messy odd shaped brittle totally disintegrated part
Very bad and very very bad spare plastik support for the ventilation.  Note the rubble to the right.
Trouble                                                                                    164.2

Time for some fiberglass and some resin.
Find a bolt and nut to hold the white support bracket down towards the doorplate
                                                                                                                                                        164.3


Cut the fiberglass to size before you mix the resin and hardener , vacuum after hardening you really do not want fiberglass in the went system , the car and your lungs.
                                                                                                                                                          164.4


Door guard , yes probably in bad shape too.You need waterrepelleant foam sheets,can be sourced from Amazon
                                                                                                                                                      164.5

Masking tape, a fingernail to mark the shape and a sharp tool , use a ruler to cut long straight pieces.
                                                                                                                                                        164.6

                                                           Nicer                                                                                 164.7

test it , mark for the tiny screwholes so you can locate them through the door plate
                                                                                                                                                 164.8


Second barrier , plastic , any drywall selling store has it.Marking it directely on the door before cutting the shape is the easy way to do it
                                                                                                                                                        164.9


At this age a variety of solutions might have come up by the previous owners of the car , missing parts and of course the usual not so bright things done out of sight , in this case the powerline for the side mirror is trapped between the inner door plate and the bolts for the windowregulator motor
inner panel off , Door speaker removed it was utterly broken.

secure the window ,tape is good , chose a type that doesnt tear of the paint.Here masking tape for painting
                                                                                                                                                       164.10


 door front end the ventchannel is on the doorcard , so should this piece be..........

                                                                                                                                         164.11

Front door rear end,note the not so OEM metal plate for the door handle                       HERE
                                                                                                                                           164.12

 Loosen the bolts , cry in case someone squeezed the sidemirror power line like this.

                                                                                     BAD !                                                        164.13

Bottom support of window two 10 mm nuts.
                                                                                                                                                        164.14

Third nut 10 mm, top end door.
                                                                                                                                                     164.15


The bottom of the door two 10 mm nuts

                                                                                                                                                      164.16


OUTSIDE DOOR TRIM REMOVAL

START WITH THIS TINY SCREW

                                                                                                                                                       164.17

THEN the windovtrim
                                                                                                                                                    164.18


                    Very suitable tool for this                                                                                         164.19
Pull window out by tilting it slight up at the rear end
                                                                                                                                                     164.20

Now push rotate and pull. Windov regulator. Push the bolt fixed to the regulator in ,rotate top end towards the front of the car.
                                                                                                                                                       164.21
Bottom bracket easily becomes trapped behind the reinforcement plate in the door ,here its free of the plate
                                                                                                                                                       164.22
Pull bottom bracket out , hold powerlines up to avoid damaging them
                                                                                                                                                     164.23


Tilt motor out
                                                                                                                                                     164.24

The wires to the mechanism are flexible , therefore you can compress the assembly like this , making it slim enough to pass the opening in the door. When refitting hold the new one like this and slide it in, it will be less stressfull to the wires than brute force combined with sharp door parts.
                                                                                                                                 164.25
Always grasp the opportunity to ease the window sliding track friction remove dirt then use the silicone spray .
                                                                                                                                164.26

Lubricate door locking mechanism , a bicyclechain spray , that turns from sprayable thin liquid to grease is perfect it stays longer . othervise a silicone based grease is perfect too.
                                                                                                                                 164.27
 Door locking parts through windowsill
                                                                                                                                                       164.28

Start repairing the " fixes" from previous owners .....
                                                                                                                                                        164.29


PLAN B Licence plate things fits rather good , find a 9 mm plasticfitting
PLAN C strip the other door at take the fittings from there , afterall the drivers door usally is used more often than the others.

                                                                                                                                                     164.30


Optional if ratteling is annoying

                                                           Vinyl tape all the wires                                                       164.31

                                                                                                                                                        164.31
Refit the new
                                                                                                                                                   164.32
                                                                                                                                                    164.33

Operate the motor to get the window base bracket almost to the top of the door
                                                                                                                                                        164.34


Wiew through window slot                                                                                                          164.35


Align the window in the rubber thing
                                                                                                                               164.36

The bracket on the window regulator can slide towards rear and front
                                                                                                                                                     164.37

Windowbase bracket bolts and regulator bracket slots aliged.
                                                                                                                                                     164.38


                                                                                                                                                      164.39


Test that it works
                                                                                                                                                        164.40

Refit and enjoy.

fit the doorlock pin through the hole.


THEN fitt the window scrape list at the front , work your way back
Locate the plasticfitting for the screw in the door plate

Check the fitting ,lift the plasticbarrier


Screw , and upper part is done.
I had to put a pin on a string in the door handle upper spring to keep it open enough to accept the handle
doorhandle and lower panel , align door opener for with the metalplate on the wire , align the screw square floating nuts 


Floating square nut WHAT WHAT WHERE
THAT one and one more , make shure , the spring will hold it in the panel , adjust the spring outwards if not , and yes this is how you install it in the slot

Finally done

https://youtu.be/wvmsRRuwDoI

Its time to celebrate.
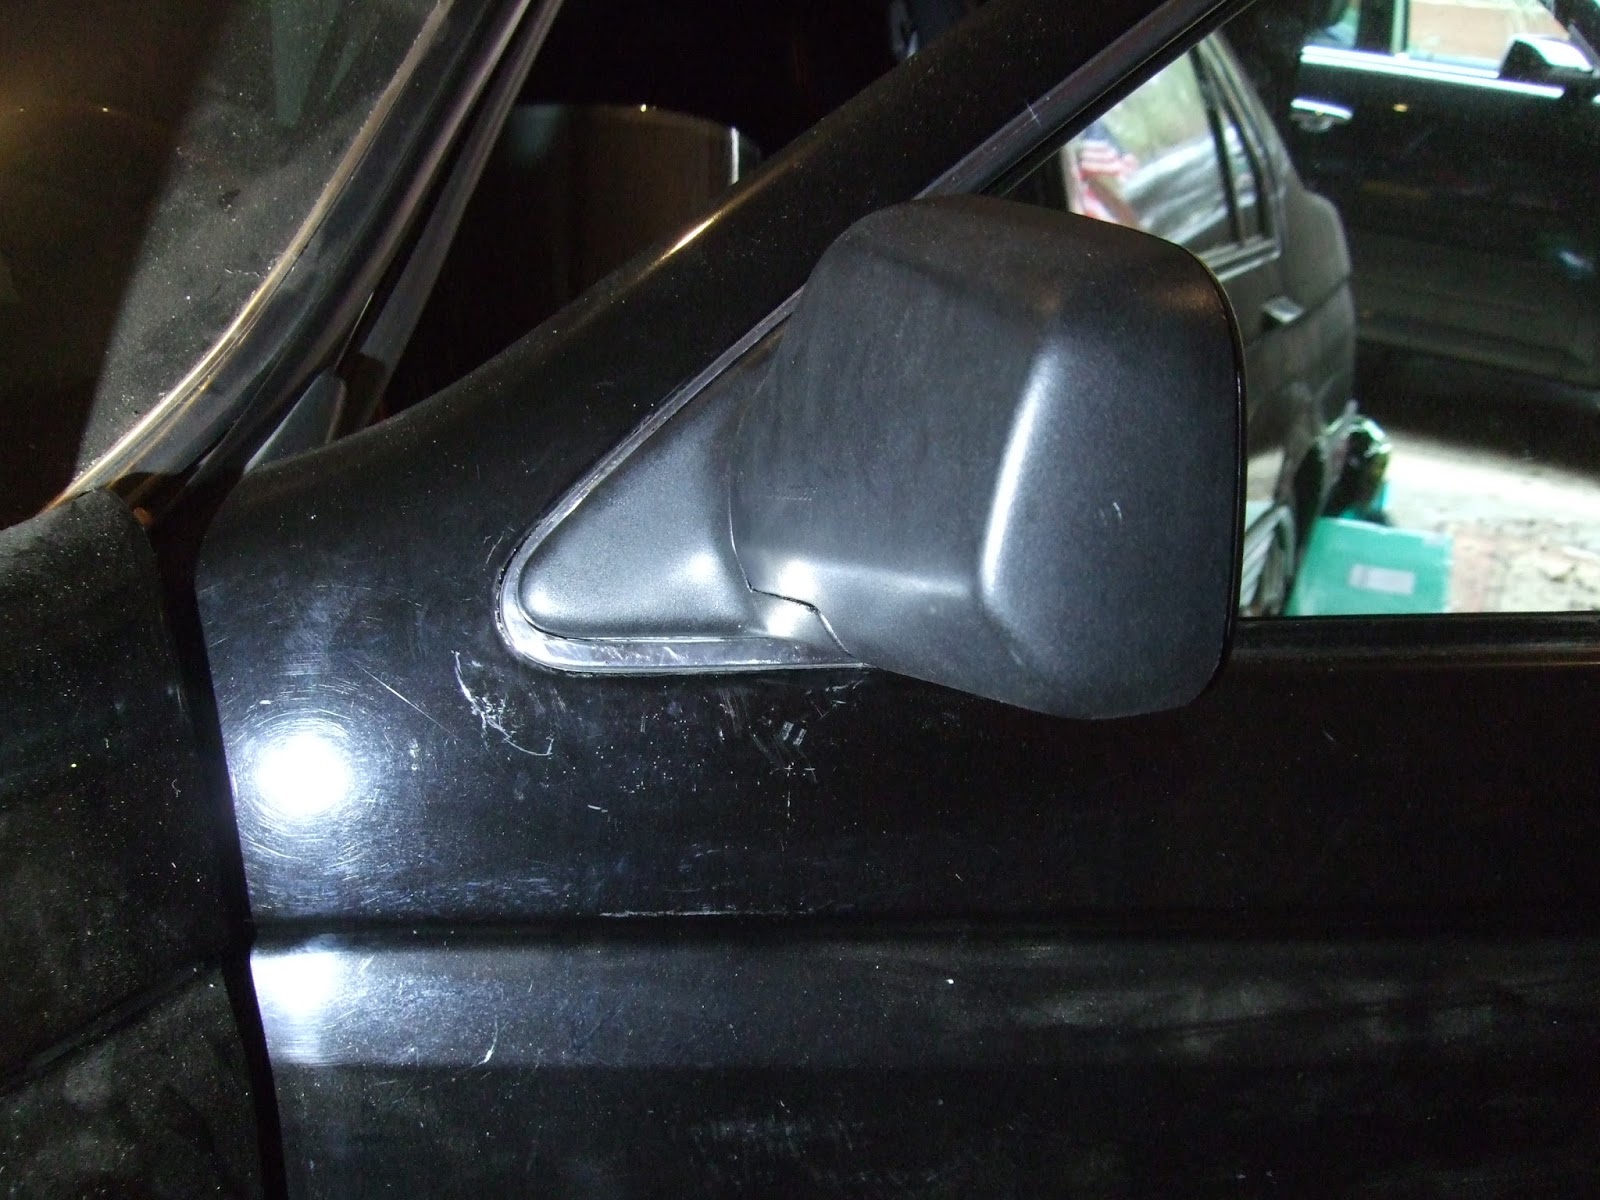


SIDEMIRROR .
Here refitting connector from old mirror heatshrinking yellow tubes on

                                                                                                                                               164.41

Use an ovenproof porcelain thing , align , flux,heat and solder.
                                                                                                                                                        164.42

heat and shrink the tubes
                                                                                                                                                       164.43

Base for the mirror did a t some point come with a foam pad , glued on.
Looks nasty, is uneven , scrape it clean.

                                                                                                                                                       164.44

Try the door foam pad , cut to shape,glue if you want to.
                                                                                                                                                       164.45

Pull the wires throug the hole , hold the mirror and tighten the hex screws.
                                                                                                                                                        164.46


Make shure the wires do not interfere with the window mechanism.
                                                                                                                                                      164.47

Panels on.the upper is a real pain , you have to align the doorhandle in the slot, the inner window scrape list and THEN the white plastic slide lock.


Mirror switch.


There is the slot start with the new casing , so you practice on that.

Four slots , work the plastic gently ALL the way around , silicon spray is good too, pull the copper and out it comes.

Mirror switch outer shell is reusable , replaced using switch from a RHD alfa switch.
Old parts left

 be careful orientating


Refit springs

Reconnect and refit


SPEAKER
164.48
There is room for a 16 cm diameter speaker if you want a significant better quality , choose a two way speaker component system IF you can bear the thought of placing the small tweeter on door,
               Sound deadening                                                                                         164.49

                                                                                                         More including inner side of the metal doorplate                                                                      164,51


the frame might need dampening too,


 doorcard can do better with foam                                    164.52

Put upper panel on window down 164.53


The metal frame needs sound deadening and proper seals.
                                                                                                                                164.55


apply sealeant to close holes in the plasticframe , if present 
                                                                                                                                               164.56

Sealed 
                                                                                                                                                  164.57


Ready 
                                                                                                                                  164.58
Tweeter , instrument panel or the sidemirror inner panel will do.
This shows the missing imprint on a piece of foam glued to the mirror inner plate of the air channel nice place to drill a hole for wires.


Testfit drill , glue , a heated gluetype is excellent for this job.

Seems ok.
Wire in the doorplate.


Find a suitable spot for your filter , check room for window , follow instructions for filterinstallation,connect,

nice spot , 5 mm bolt through door and filter and nut , door plate has damper on the rearside too.

Connect and fit speaker, rivets are standdard , here machinebolts and locknuts on the inner side of panels.


Nice 


Inner door handle.

Usally broken , they can still be sourced from europe , Italy and Germany mainly.


Remove the two screws , pull the pin

There we have it.AS means Anteriore Sinistro , Front Left


refit handle through the slot and THEN put spring and pin back , some grease would be nice too.
Place the free end of the spring in front of the ridge like so , push handle in and down to  the pin holes


Secure the pin and its reassembley time.

Ill be back .

Outer door handle.

Starts with a tiny horizontal crack to the rear of the handle this is the front right side 

This is how it looks at the left rear when fully broken 


Inner door handle off.Pull the opening handle and a phillips PH 2 should be visible


Loosen remowe

SLIDE panel forward


Then pull and turn , disconnect window regulator switch.
nOTE THE FRONT OF THE THREE SCREWS FOR THE HANDLE

Inner doorhandle is held with three screws AND AN UPPER PANEL SLIDING SPRING, REMAINING TWO SCREWS here visible 
THESE SCREWS HAS TO BE REMOWED BEFORE LOWER PANEL CAN BE REMOWED

THE REAR PART OF THE LOWER PANEL HAS ONE SCREW COMMON WITH THE HANDLE


AND AT THE BOTTOM FIVE TINY SCREWS


PULL LOWER PANEL , THEES PUSH PULL RETAINERS DO EASILY BREAK , SOURCE THEM PRIOR TO REMOWING THE LOWER PANEL

YOU HAVE TO SLIDE UPPER PANEL OFF TO GET THE HANDLE OFF.
THATS MEANS REMOWING TINY SCREW HERE

The door handle is still hanging from the spring bracket.

DO NOT ATTEMPT TO PULL UPPER PANEL OFF , BRACKETS WILL BREAK 

TO SLIDE IT OF , START WITH THE WINDOW INNER SCRAPING LIST

WINDOW DOWN.VERY CARFULLY A PIECE OF WOOD UNDER THE MINI PRYBAR CAN PROTECT THE OUTER WINDOWSCRAPING LIST


Should look like this

Inner bracket detail of outer handle


8 MM NUTS first time i have ever used that 8 mm socket.


That inner bracket can slide so after loosening the two bolts , try bto slide it towards the front of the car , here detalil of bracket


here new and old outer handle with the bracket as for illustration of the bracket

Back to the doorhandle , the connecting rod can simply be pulled out of its nylon bracket


lift the handle out up and be carefull , the rubber seal needs to be preserved


gently pull turn and you have the rod freed


make shure to clean the rod , due to corrosion it might act as a file in the door handle , grease

Reconnect only the rear nut on , its the most difficult to reach try to slide that bracket on again and then put the second bolt on


as usual grease everything while the door card is off


Hinge.

Here a new one taken apart 

In real life it a bit more difficult , you need to remowe doorcar,undo the door electrical connections under the dashboard,remowe the front fender and more.
there is not much room for anything here upper angled screwdriver , 10 mm socket on looong flexible shaft.
And yes the lower is another pain.I had to remove the locking ring and shim to get a grip with this molegrip , the screwdriver simply coul not hold the screw

Heres a closeup of the locking ring and shim

use a magnet when you remove small parts like theese


William Lutken.